Background Profile Picture Tips That Keep Faces Centered
.svg)

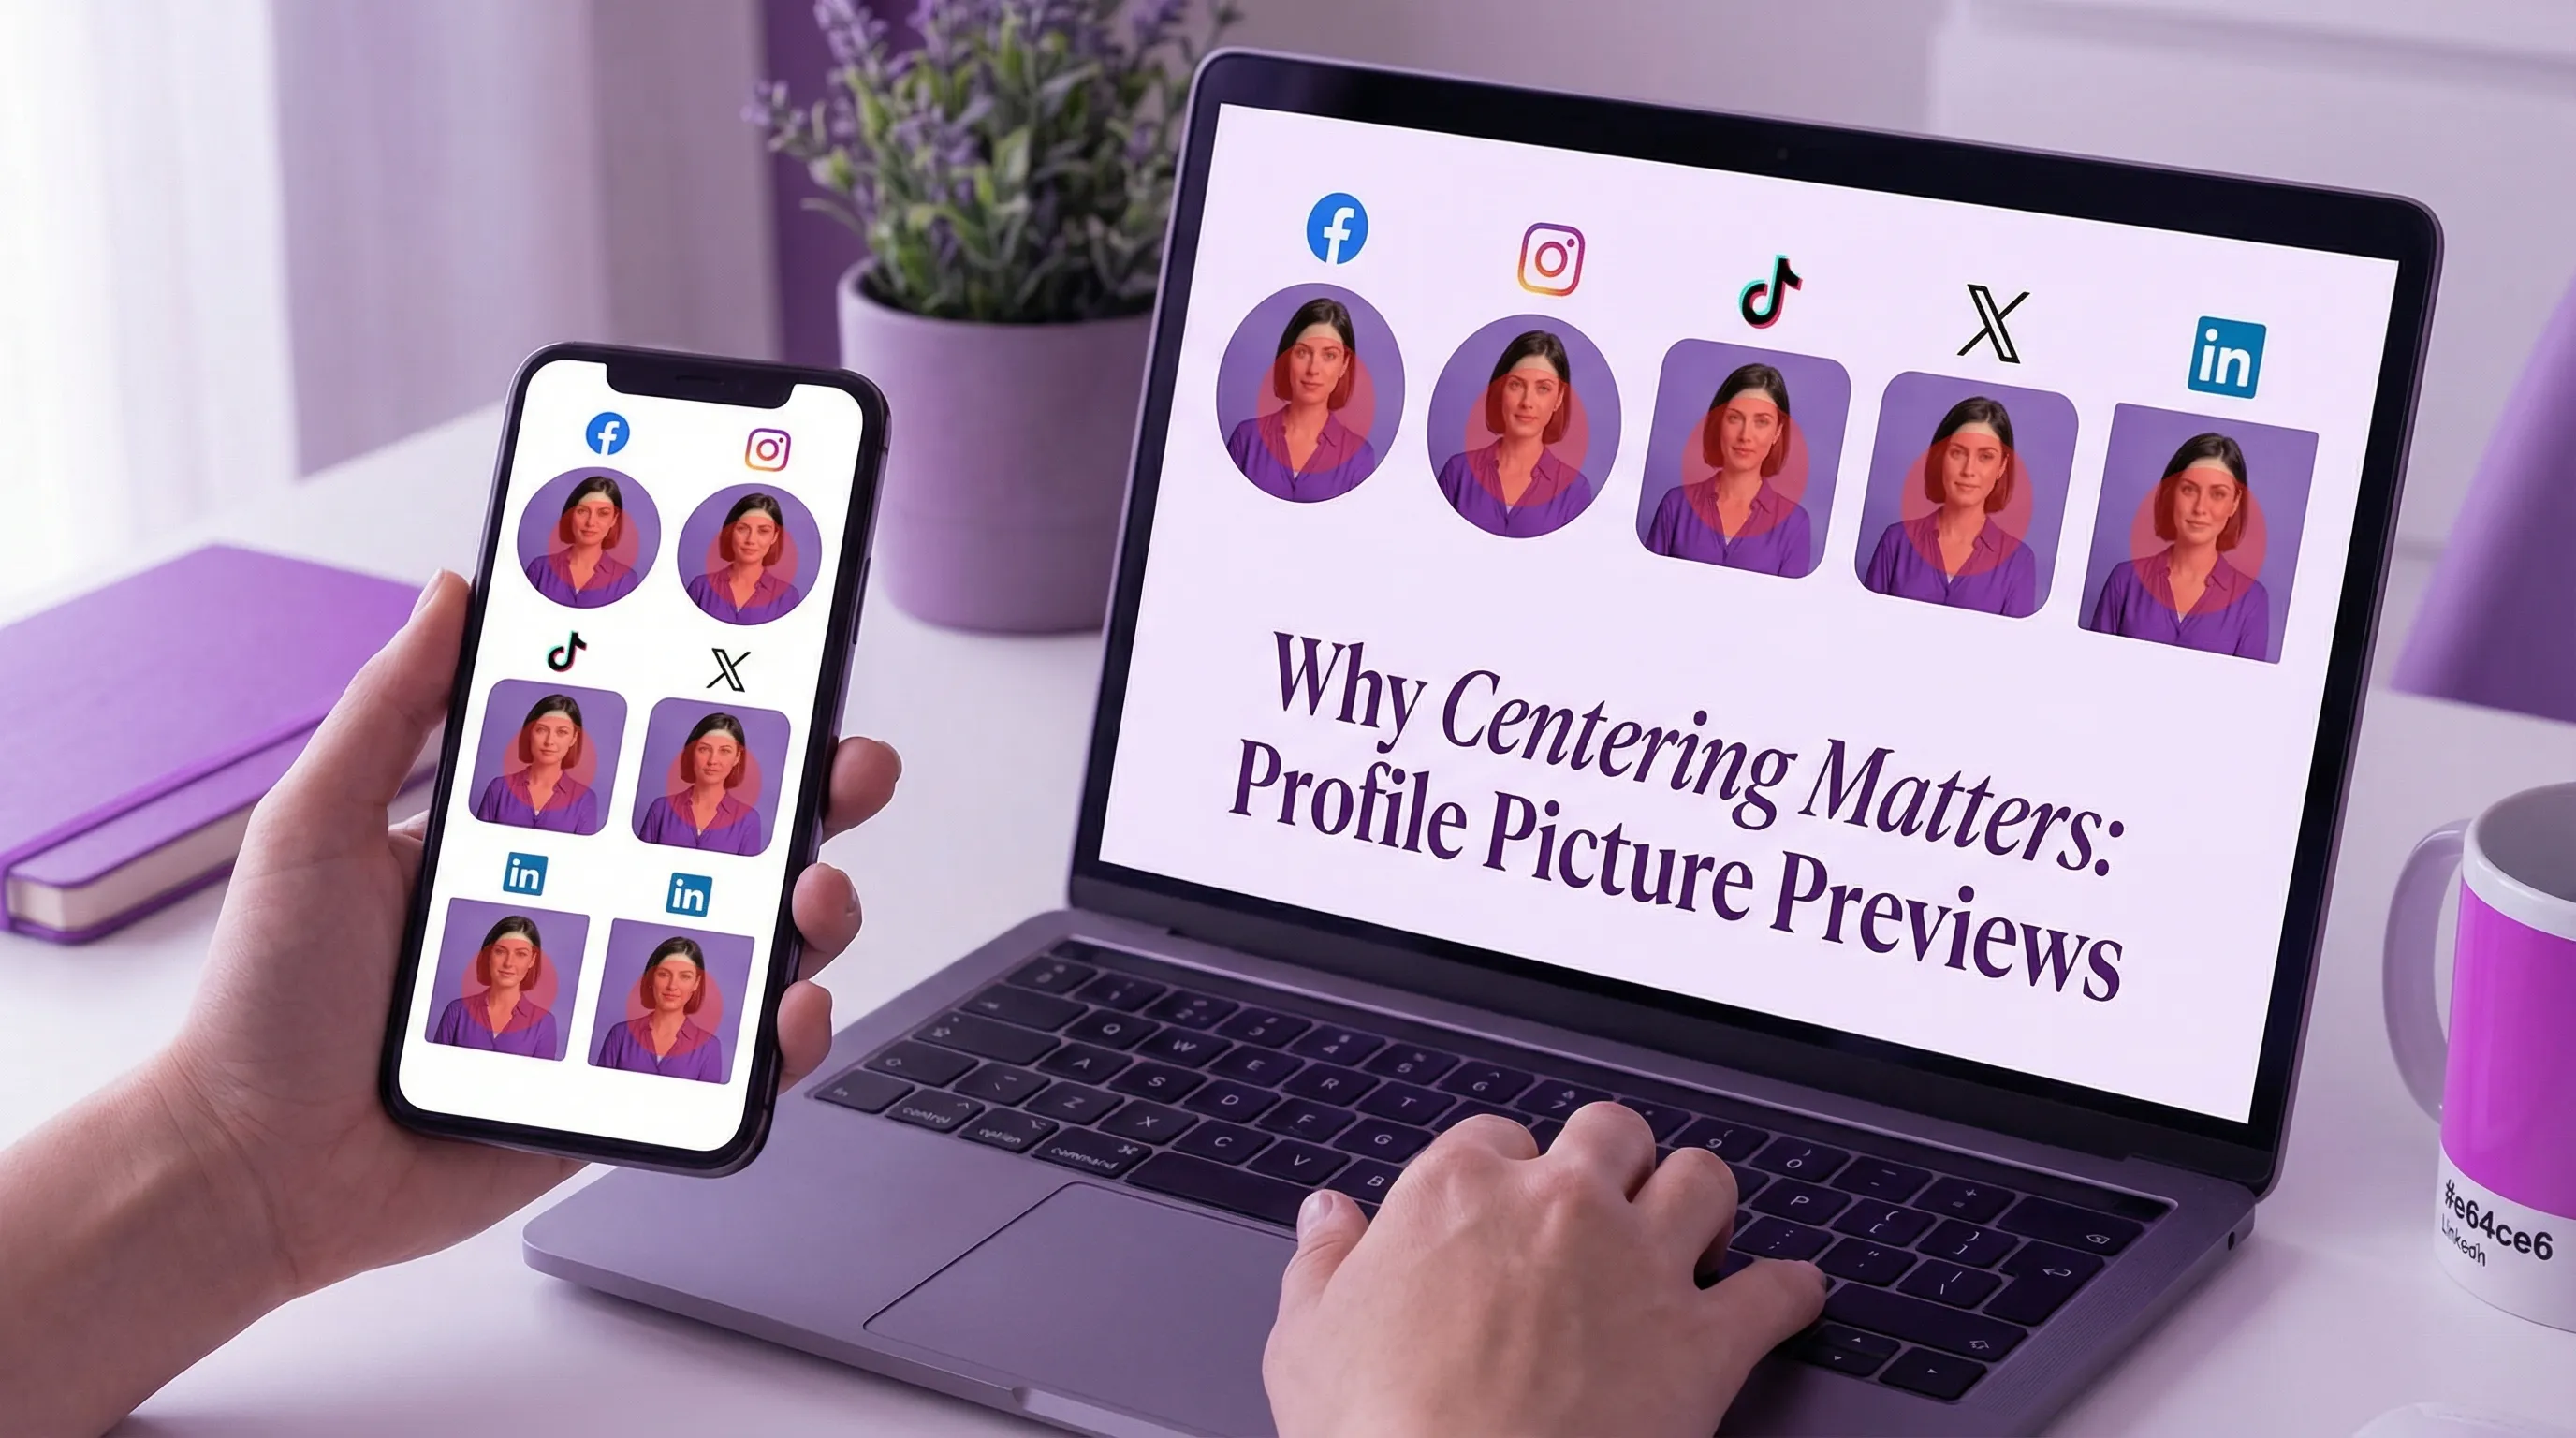
A great profile photo can still fail if the crop cuts off your chin, drifts your face to the edge, or turns your background into visual noise. That happens because most platforms display profile pictures as small circles or rounded squares, then resize them differently across feeds, comments, DMs, and search.
If you want a background profile picture that looks intentional everywhere, the goal is simple: keep your face centered and readable, even after the platform crops and shrinks it.
Why faces end up off-center (even with a “good” photo)
Profile photos rarely appear as the full image you upload. Platforms typically:
- Apply a circular mask (or rounded square) that cuts corners.
- Use different crops in different placements (profile page vs comment avatar vs suggested accounts).
- Render at tiny sizes where backgrounds and small details turn into mush.
- Occasionally shift or zoom depending on device density and UI context.
This matters because people form impressions quickly. Classic research shows we make judgments from faces in as little as 100 milliseconds (Willis & Todorov, 2006). When your face is not centered, viewers spend that split second decoding the crop instead of recognizing you.
The “center-safe” rule for background profile pictures
If you remember one thing, make it this:
Design your profile photo inside an invisible circle, not a square.
A practical guideline that works across Instagram, TikTok, X, LinkedIn, and Facebook:
- Keep eyes and nose near the center of the frame.
- Leave extra padding on all sides so the circular crop never clips your hair, jawline, or shoulders.
- Avoid placing any important background element (like a logo, doorway edge, or text) near the corners.
Think in terms of a “face-safe zone”: your face should comfortably fit inside the middle area of the image, with breathing room.

Background choices that help your face stay centered
Centering is not only about where you stand. Your background can either reinforce the center or pull attention away from it.
Prefer backgrounds that create a visual “spotlight”
Your best options are backgrounds that naturally frame the face:
- Solid or lightly textured walls (off-white, gray, muted colors)
- Soft gradients (studio backdrops, sky, blurred greenery)
- Depth blur (portrait mode or lens blur) that separates you from the background
- Subtle vignettes (a gentle darkening at edges) to keep attention in the middle
These backgrounds reduce the chance that cropping makes the image look “tilted” or unbalanced.
Avoid backgrounds with edge-weight
Some backgrounds make off-centering worse because they add “weight” to one side or to the corners:
- High-contrast shapes near the edges (window frames, shelves, signs)
- Strong diagonal lines (stairs, railings) that point away from your face
- Busy scenes (crowds, patterned wallpaper, cluttered offices)
- Any readable text (it will be cut, shrunk, or look accidental)
If you must use a busy environment (events, travel, conferences), increase background blur and add more padding around your face.
Use contrast to stay readable at thumbnail size
A common failure mode: the face is centered, but it disappears because the background is similar in brightness or color.
- Dark hair on a dark background will merge.
- Bright sunlight on a pale wall can wash out facial features.
Aim for clear separation between face and background. Even a small contrast difference becomes a big deal when the image is displayed at 32 to 64 pixels.
Capture tips that prevent cropping headaches later
You can fix a lot in editing, but shooting with cropping in mind saves time.
Step back and zoom in slightly (instead of moving the phone close)
If you shoot very close with a wide phone lens, facial proportions can distort and the crop feels harsher. A cleaner approach:
- Step back a bit.
- Use a mild zoom (if your phone has a 2x lens, that often looks more natural).
This keeps your face more centered and flattering, with space to crop safely.
Keep your head level and your eyes on a horizontal line
A tiny tilt that looks stylish in a full photo can look “wrong” in a circle crop. Use your camera grid and keep:
- Eyes level
- Chin not too tucked
- Shoulders relaxed
Quick shooting checklist
- Face is centered, not “rule of thirds”
- Extra space around hair and chin
- Background is simple, blurred, or evenly lit
- No bright object behind your head
- You can recognize the face at thumbnail size
Editing tactics: how to keep faces centered across platforms
This is where most creators and designers win or lose.
Start with a larger square than you need
Even if a platform displays a small avatar, work from a high-resolution square (for example, a 1:1 crop from a larger original). Then:
- Add padding (expand canvas) rather than cropping tight.
- Center the face precisely.
- Keep the face scale consistent across versions.
Use “background extension” instead of tighter cropping
If your original photo is too tight, do not zoom in further. Instead:
- Extend the edges with a matching color or blur.
- Swap to a clean backdrop.
- Add a subtle gradient behind the subject.
The goal is to protect the circular crop and keep the face stable.
Don’t over-sharpen, do micro-contrast
Most platforms compress profile photos. Heavy sharpening can create halos, especially around hair. A safer approach:
- Slight contrast and clarity on the face
- Gentle sharpening only if needed
- Keep noise reduction minimal so the face does not turn waxy
Platform reality check: you are not designing one crop
Even when platforms accept the same upload shape, the avatar appears in multiple contexts:
- Comments and replies (very small)
- Suggested accounts and search
- DMs
- Profile headers next to text
So a background profile picture that is “perfect” on your profile page can still fail in the comment stream.
That is why a preview step matters, especially for:
- Digital marketers switching between personal brand and client work
- Freelancers whose profile photo appears next to proposals and outreach
- Designers who need consistency across multiple platforms
- Creators whose face needs to be recognizable in tiny UI placements
If you are building a personality-driven brand, even outside English-speaking markets, the same rules apply. For example, parenting creators often rely on a warm, recognizable headshot to anchor their content among busy feeds. If you want a real-world example of a personal brand built on relatable storytelling, check out Papa Doet Ook Maar Wat, a Dutch platform for dads where a clear, centered profile image helps the creator feel instantly familiar.
The easiest way to verify centering: preview on multiple platforms and devices
Instead of guessing, run a quick preview workflow:
- Upload your profile photo (and optionally a cover image).
- Check how the avatar crop looks across major platforms.
- Toggle device previews (mobile vs desktop) to spot shifts.
- Make small adjustments (scale, crop, background) and compare side by side.
- Export mockups when you need to share options with a client or team.
SocialPreviewing is built for exactly this: you can test how your profile picture and background choices render across Facebook, Instagram, TikTok, X, and LinkedIn, with real-time previews and quick cropping adjustments. If you want more context on the broader “why” behind previews, their blog also has an in-depth guide to profile picture previews.
Frequently Asked Questions
What is the best background for a profile picture if I want my face centered? A simple, evenly lit background with mild blur or a subtle gradient works best. Avoid busy patterns and high-contrast objects near the edges because circular crops will cut corners and shift visual balance.
How much space should I leave around my face in a background profile picture? Leave enough padding so a circular crop will not clip hair, ears, or chin. A good rule is to avoid tight headshots and keep your face comfortably inside the center of the square.
Why does my profile photo look centered in editing but off-center on Instagram or LinkedIn? Platforms apply their own circular masks, resizing, and context-specific crops (comments, search, suggestions). The same upload can render differently depending on where it appears and on which device.
Should I use a transparent PNG for profile pictures? Usually no. Most platforms display profile photos on varied backgrounds and compress images. A high-quality JPG or PNG with a clean, intentional background is typically more reliable than transparency.
How can I check my profile picture crop across multiple platforms quickly? Use a preview tool that simulates platform and device displays. It is faster than uploading repeatedly and helps you compare versions side by side before you commit.
Preview your background profile picture before you post
If you are tired of uploading, realizing the crop is wrong, and trying again, make previewing your final step. With SocialPreviewing, you can test your profile picture and cover images across major platforms, preview on different devices, and adjust cropping until your face stays centered everywhere. A free preview is available, and if you update profiles often, there is also a lifetime unlimited access option.
.svg)
.svg)